0 Items - $0.00
- No products in the cart.

Price range: $3.86 through $20.60
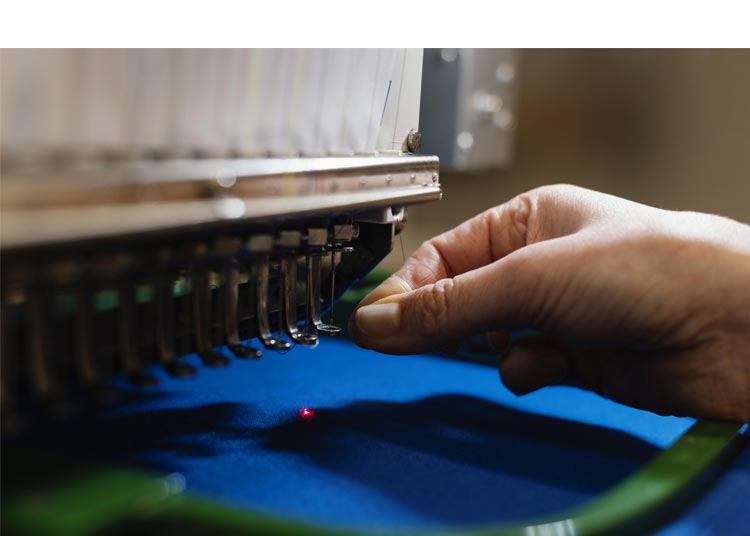
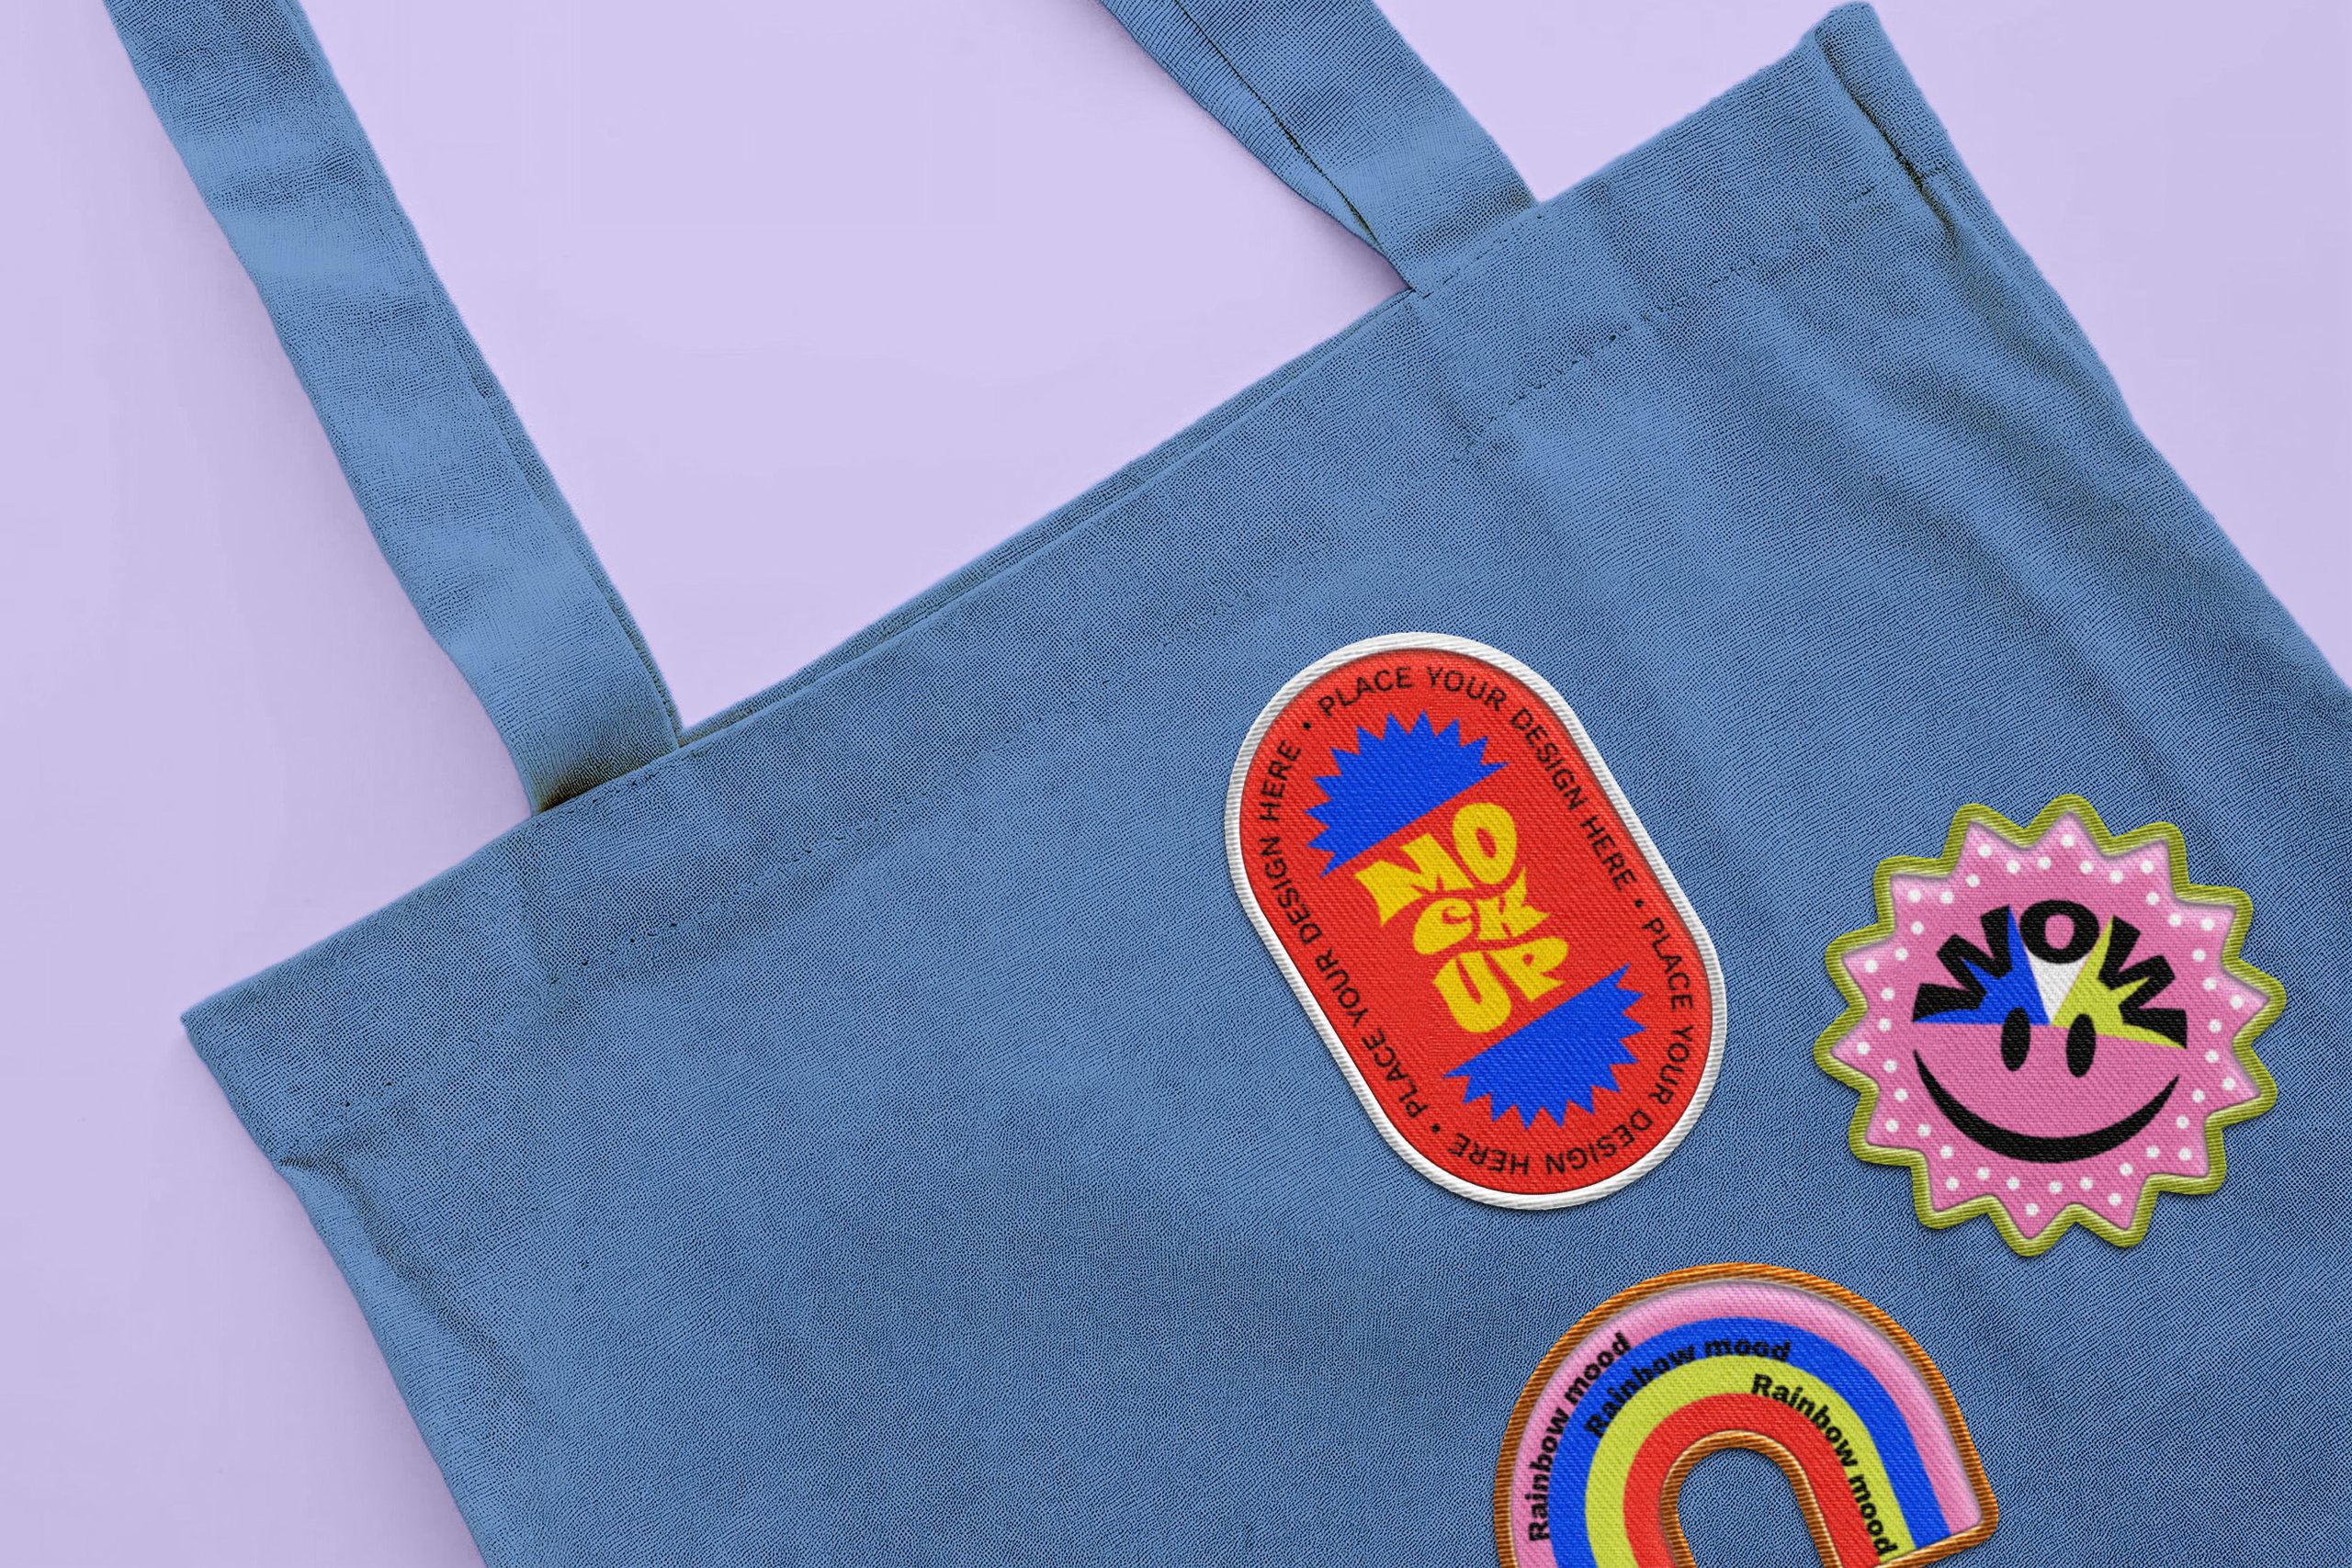
Custom embroidered patches are crafted to provide the premium appearance of direct embroidery without the long-term commitment. These embroidered patches can feature either a sleek thin-stitched edge or thick border.
Designed for fast workflows and reliable results—press with confidence and keep moving.
Reliable output from first press to last.
Keep moving with a quick, repeatable press process.
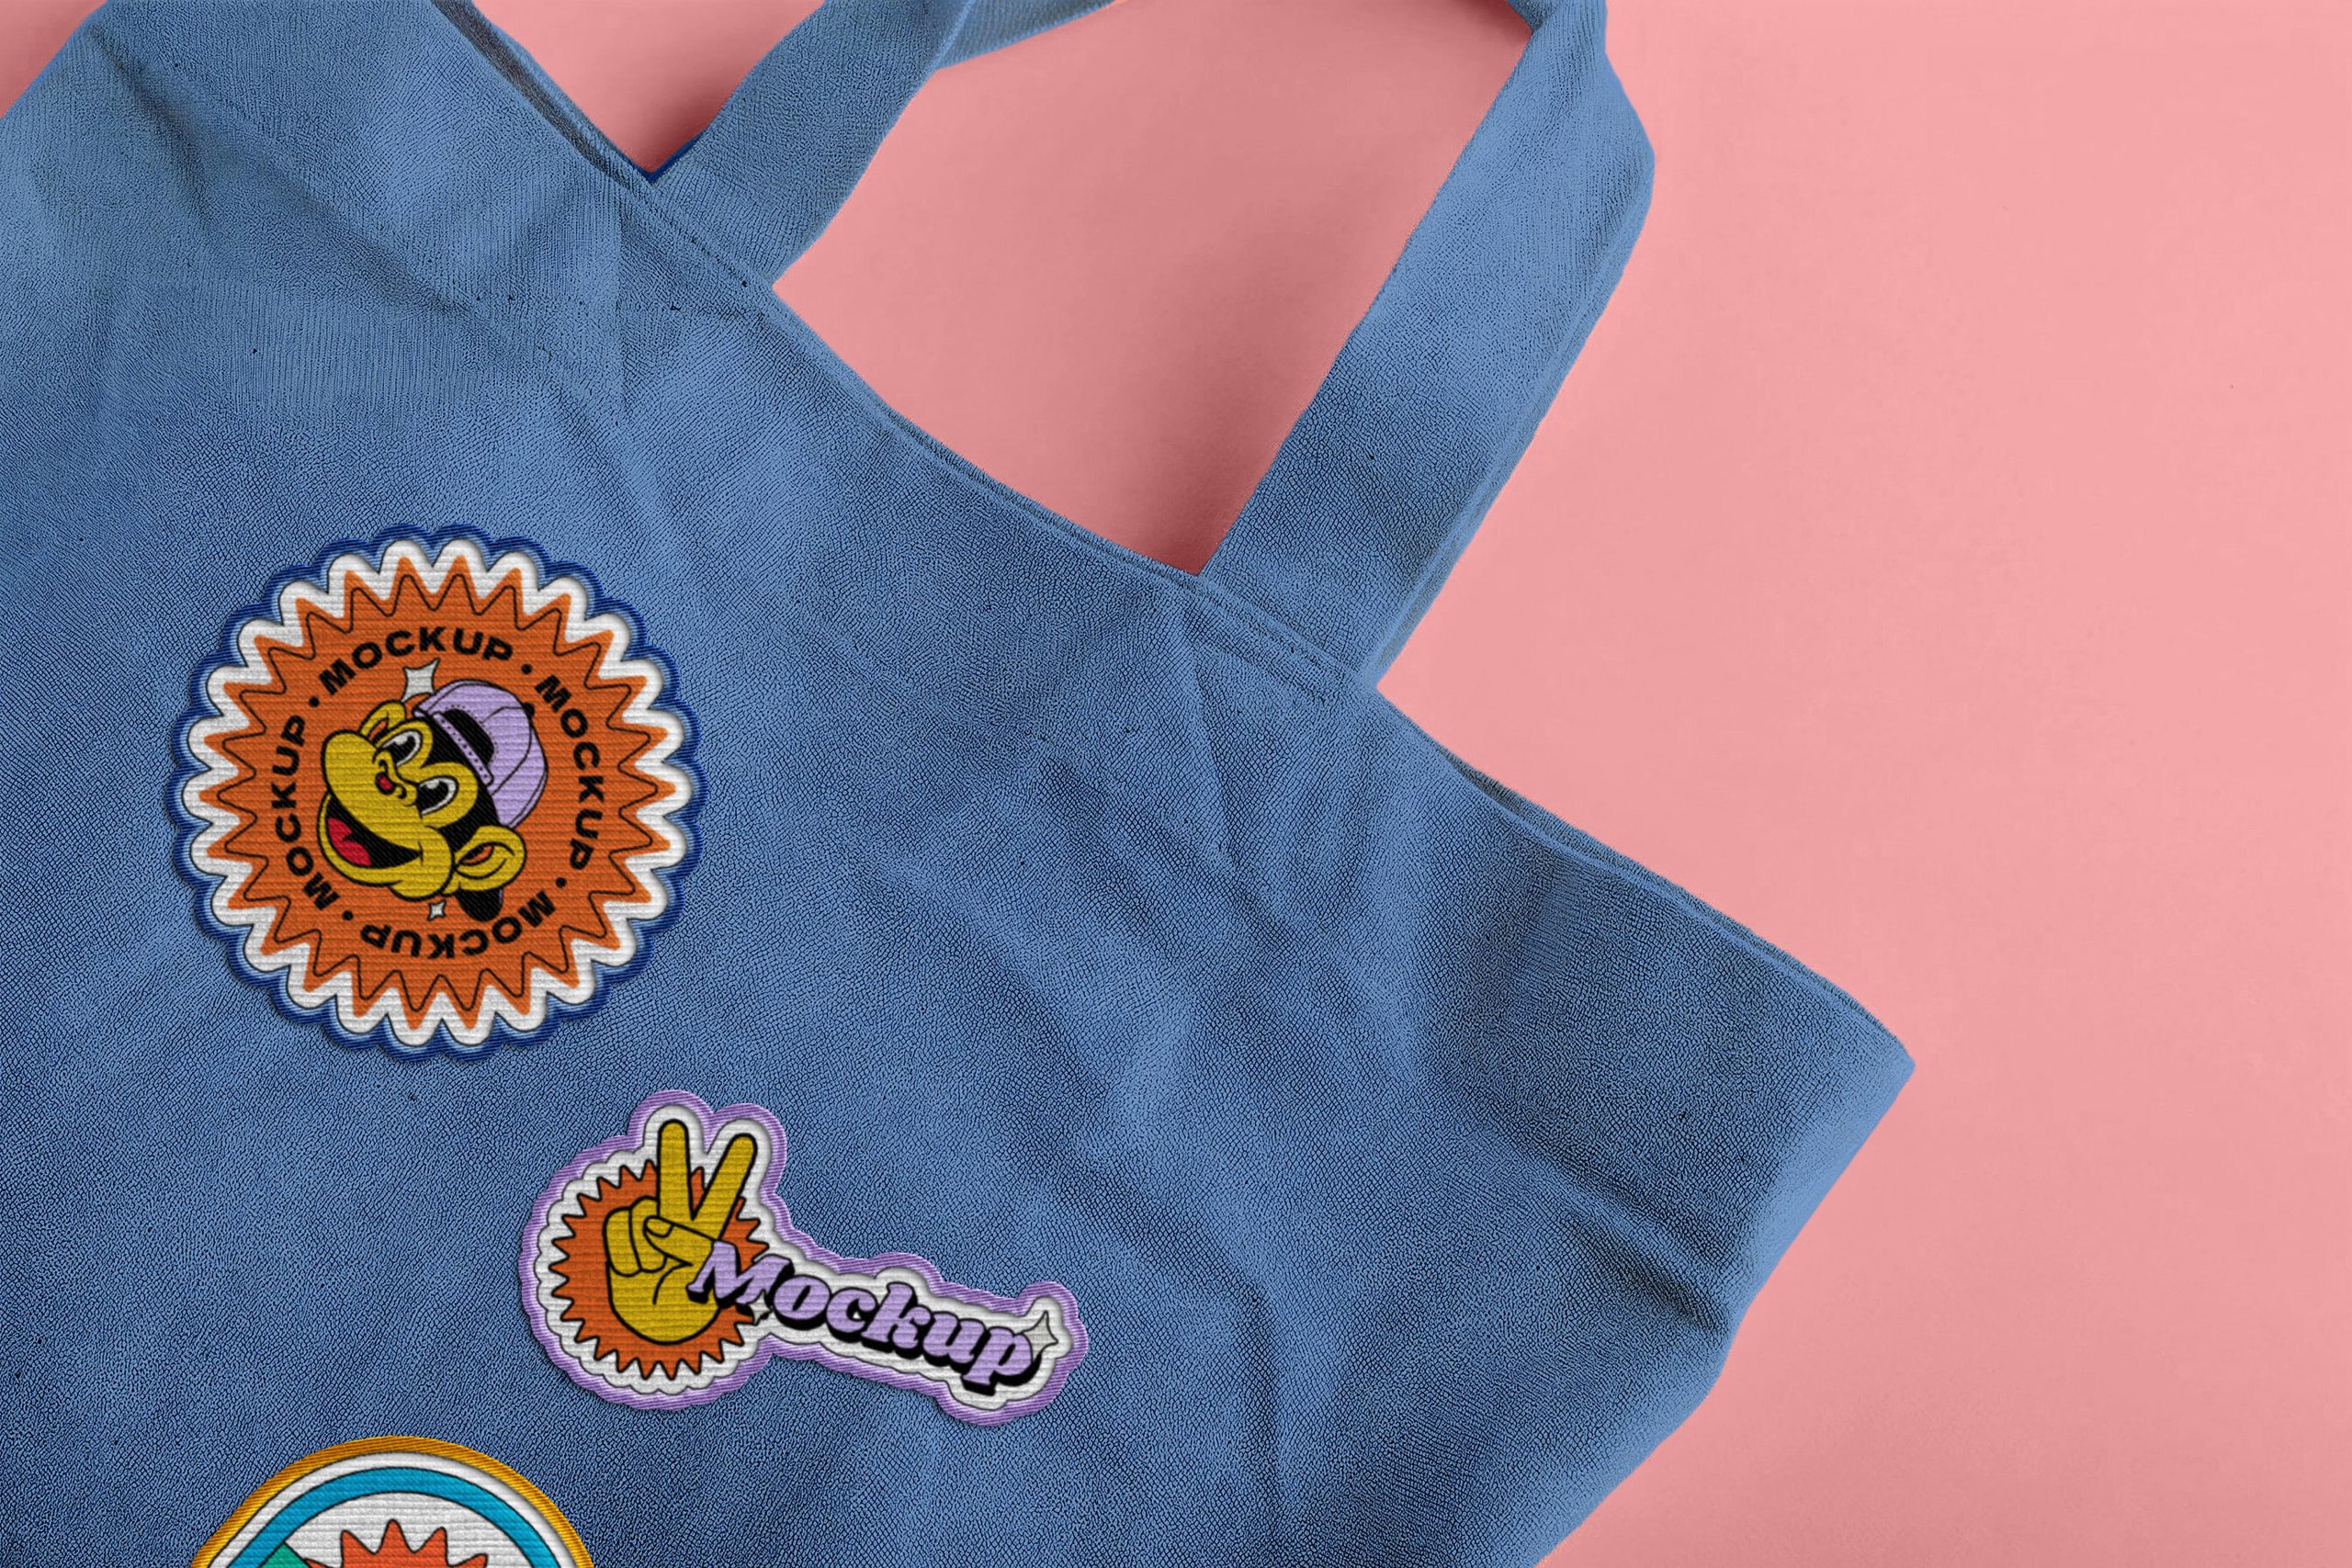
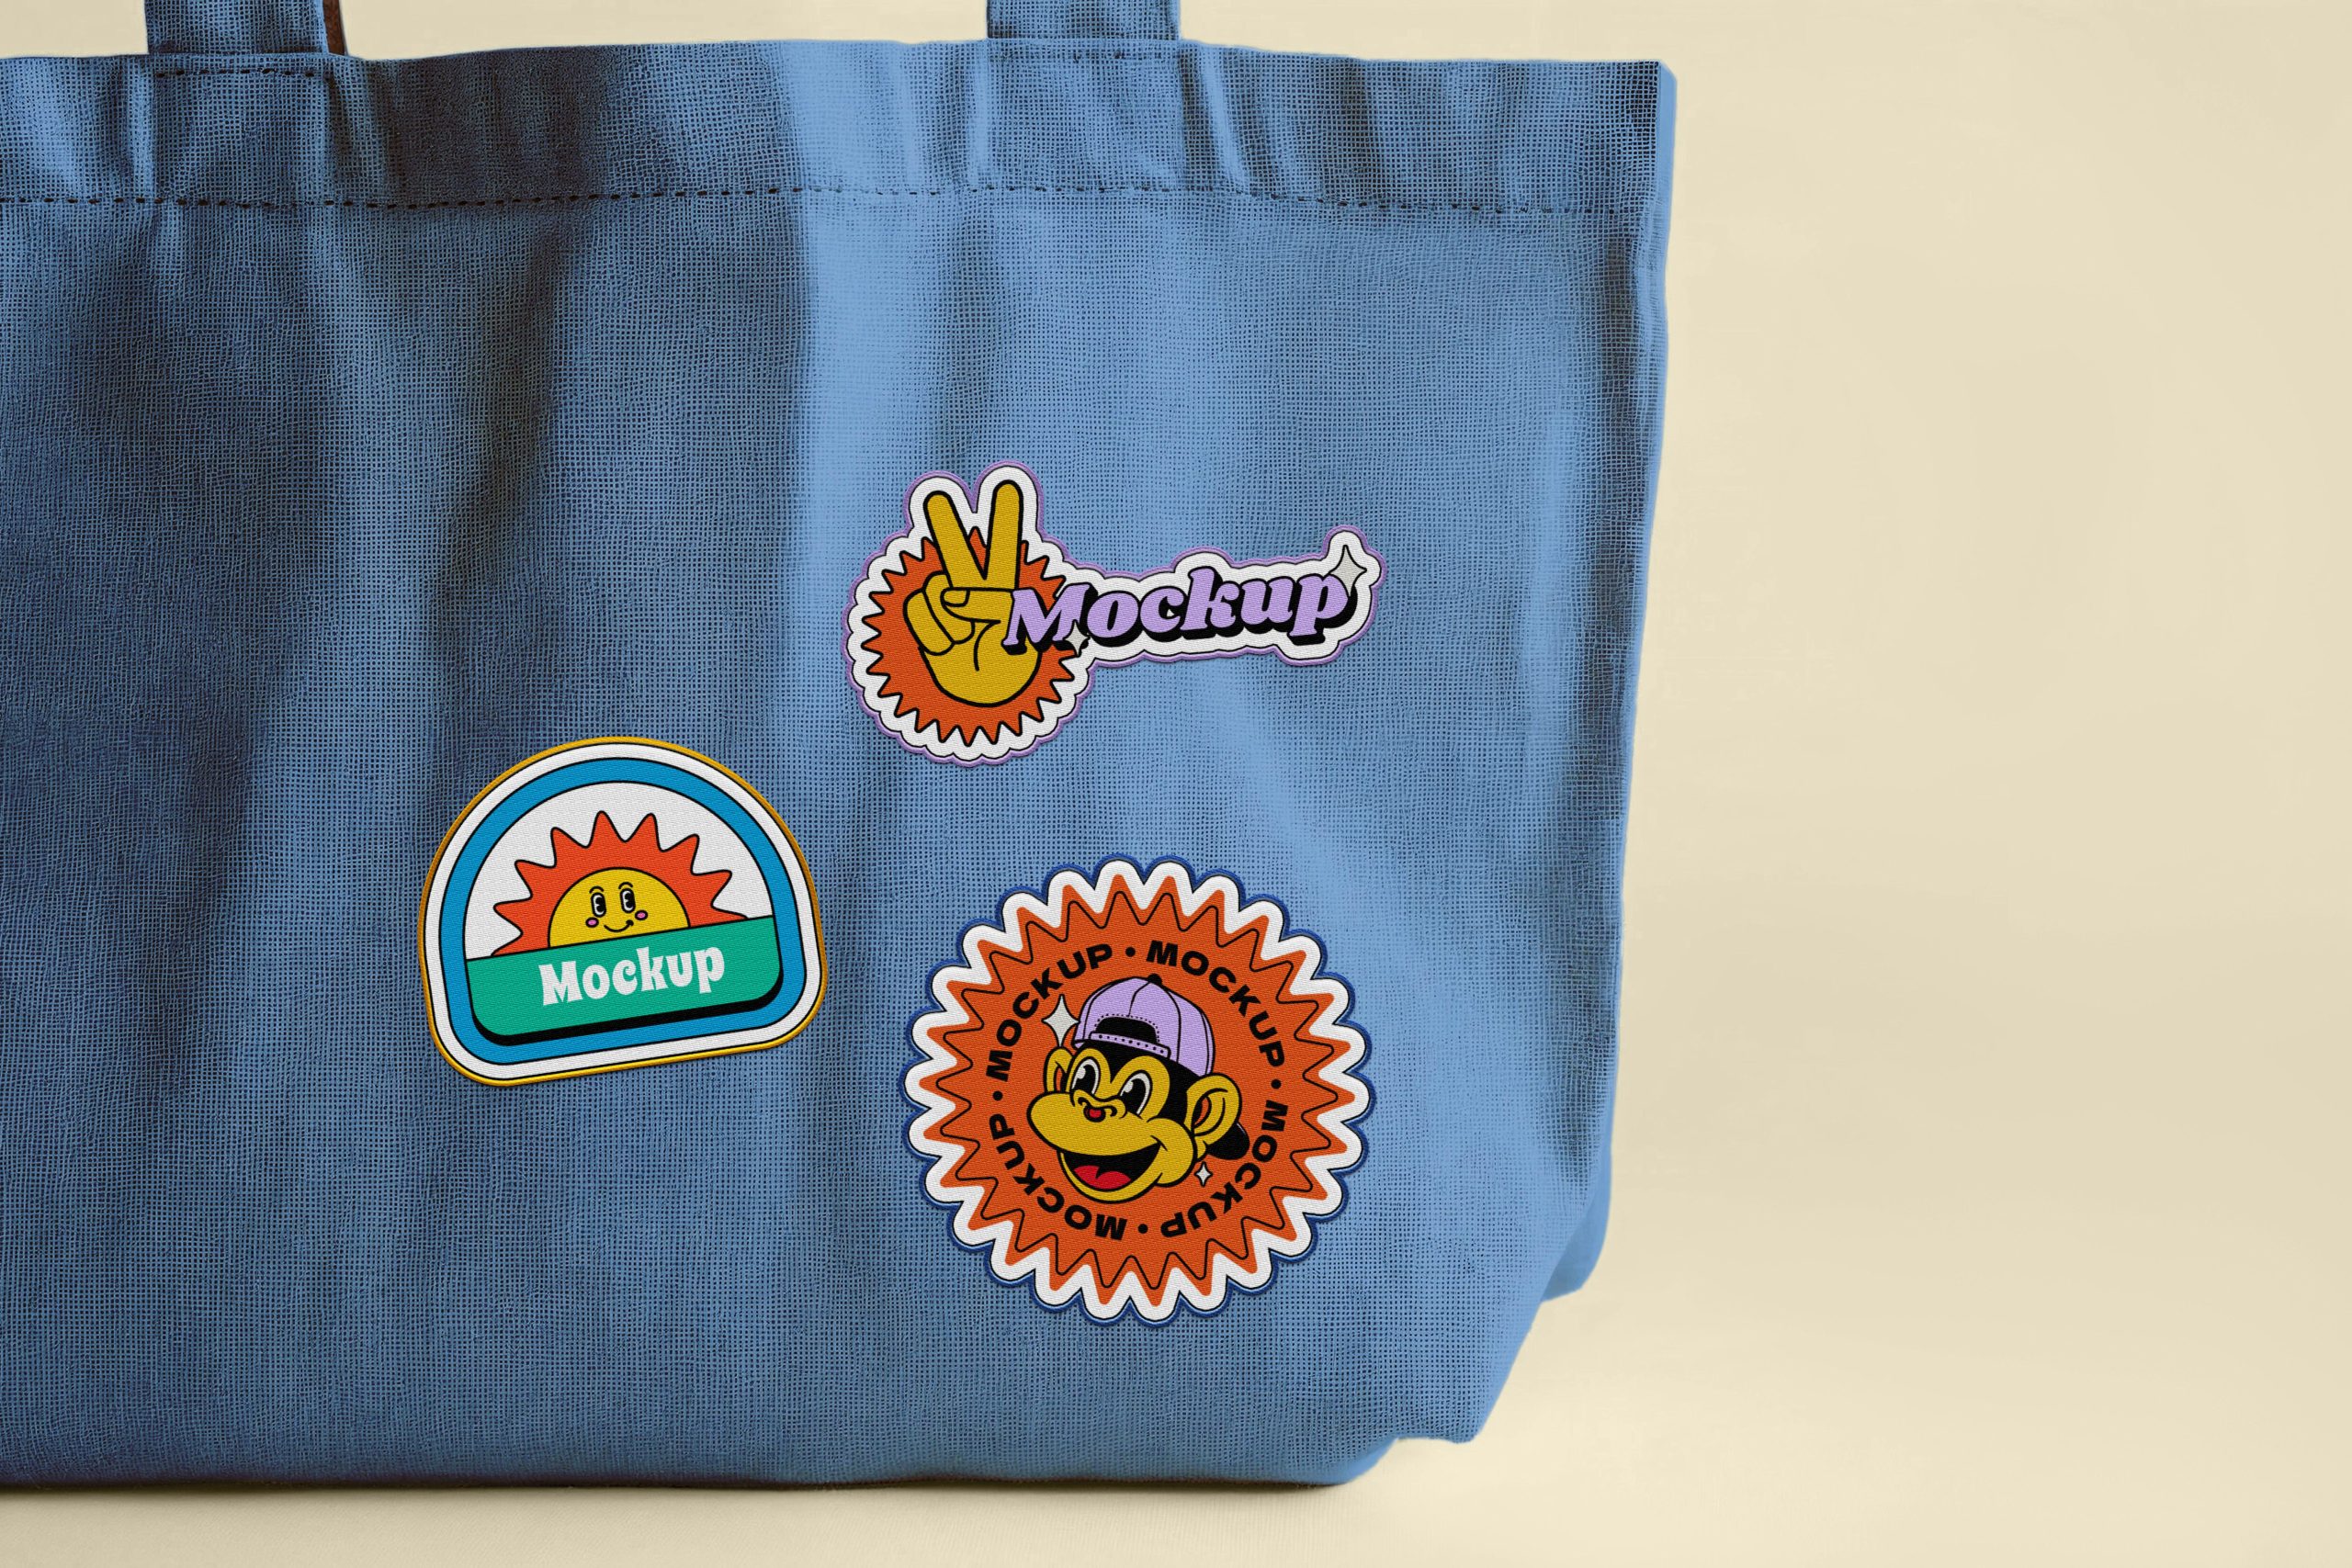
Flexible feel that holds up through real use.
Strong coverage and smooth detail that stands out.
Template Requirements
*DST Preferred / Digitized File
*We Can Digitize Your File For An Additional Fee
To ensure your Patches look professionally pressed every time, follow these five simple steps.
Refunds & Reprints
Contact us within 30 days of receiving your order to submit a request for a refund or reprint. We will reprint any order where there is a print quality or adherence issue. However, we will not issue a reprint if the uploaded file is low quality. If you’d like a refund or reprint for another reason, it must be approved by management first.
Explore popular options customers love—Checkout our specialty transfers!
